Learning to Fly
Riding strapless, you should understand how your board feels while in the air. This feeling is like standing on the beach on a windy day and angling your board into the wind so it hangs on your fingertips. First, find a balanced point on your board. Then, with lots of speed, start hitting little waves and letting yourself “float” through the air. Don’t ollie; just let the board come up slowly. Avoid grabbing the board — that’s not balance, just force. Mastering this will help you learn airs and also keep your feet glued to the board when just riding around. — Jon Modica
Keep Growing
You don’t ever want to become too comfortable and grow stagnant. I mean, you’ll do two tricks to your left and one to the right for months — but really never try anything else. To counter this, step outside the box, visualize a new move and then make it happen. Sometimes we focus too much on tricks we already know and don’t keep growing with the sport. — Damien LeRoy
Visualize Success
When pulling any trick, visualization is a really important factor. If you can’t see yourself pulling a trick in your head, it’s going to be even harder in the water. I’ve used visualization for years. I’ll study videos and use slow motion replay to understand what the person is doing and what the kite is doing. Once you’re able to visualize everything, walk yourself through the trick on land, so your body gets a feel for the motion. — Damien LeRoy
Upwind Anchoring
The key to staying upwind is to set specific landmarks, so you know your position in the water at all times. Before your session, assess the wind direction and your riding location. Look for points on the water and on land you can spot while riding. Your goal should be to get back to these points on each of your tacks. — Matt and Keegan Myers
Spin Control
When learning spins, it’s important to maintain control of your kite throughout the rotation. Many riders will initiate the trick but then lose control of the kite. First, mentally process how you’ll control the kite, and most importantly, know which hand you’ll use to get the kite in the proper direction for landing. For nearly all tricks, you’ll use your back hand to send the kite and lead hand to direct the kite down for landing. — Matt and Keegan Myers
Geared Up
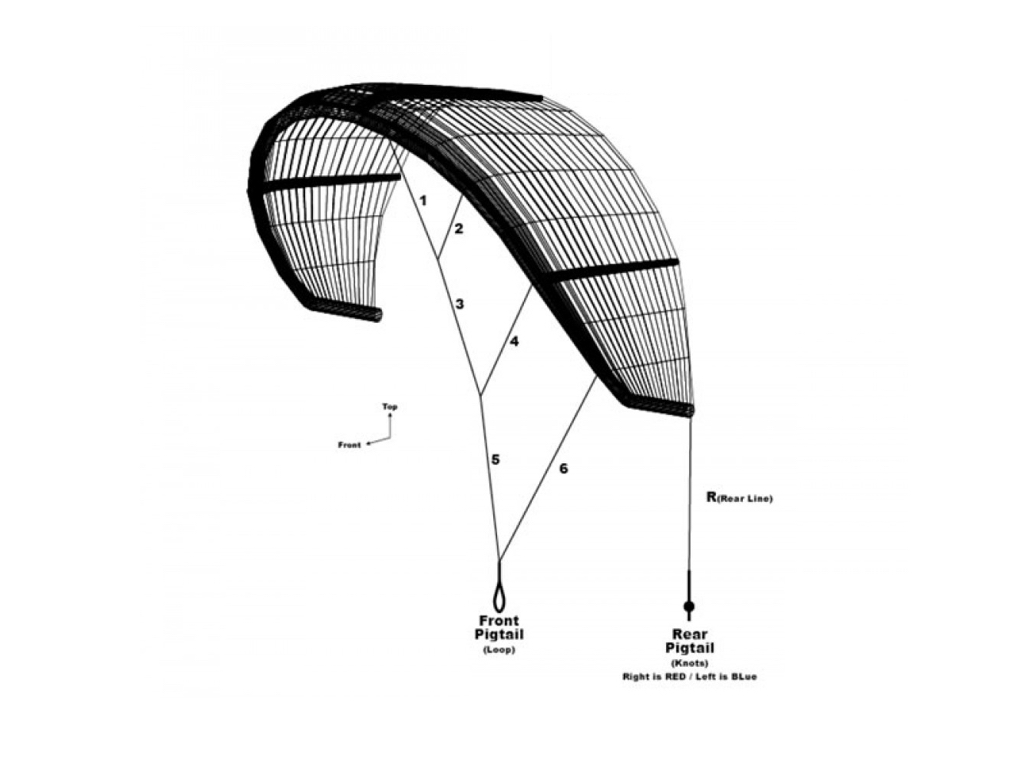
Always make sure you’re 100 percent confident in your equipment before you get out on the water. You should know how to tune your kite, so when it’s fully powered up, with the bar all the way to the chickenloop, it’s not over-sheeted — where the rear of the kite is pinched together. Over-sheeted kites are very common, and they can destroy your session even before you hit the water. If you completely understand how your kite functions, you’ll get the most out of every session. — Matt & Keegan Myers

