
Kitesurf Pulleys – The Weakest link
If you like this follow us on iTunes by clicking below:
Kitesurf Pulleys – The Weakest link
If you like this follow us on iTunes by clicking below:
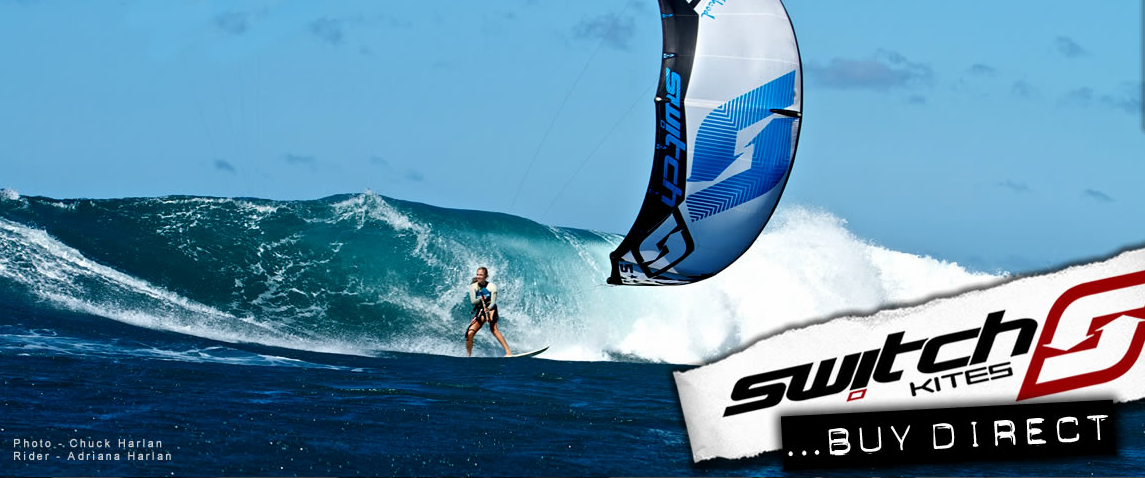
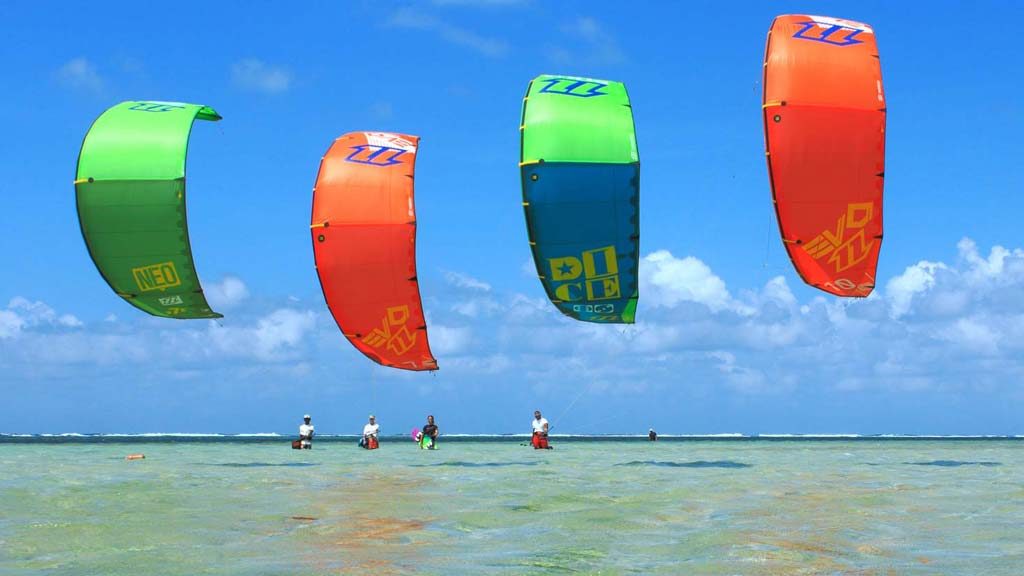
We’re going to take a look at one of the new players in the kiting industry rocking the boat with their disruptive business model, namely by only selling direct and thus cutting the cost of kitesurfing equipment almost in half. Switch kites are leading the charge in this Brave New World.
Simply put the only place to buy a Switch kite is from their website. That way they don’t have dealers or distributors who then add their own margin on to the original cost of the kite. They have several warehouses around the world where the kites are drop shipped from (often with next day delivery).
This model means that Switch can deliver top of the range kites and boards at almost half the price of brands with a more traditional model of distribution. Last we checked a brand new 11m kite and bar from the Switch website was a little over 800 €…and these babies really are top quality.
Designed as the all rounder free ride kite in the Switch line up the Element is marketed to:
“All skill levels, from the novice rider through to the hardcore all rounder: The Element is the one kite travel companion when exploring the world.”
We ordered our Element off the Switch website and found the process as easy as it gets on the internet. 5 days later the kite was there on our doorstep (5 days as we’re in Europe) if you’re in the UK or a country where one of the 5 Switch warehouses is located it’s next day delivery.
[youtube height=”315″ width=”560″]http://www.youtube.com/watch?v=deh2owI-lII[/youtube]
Straight out of the bag you get the impression that this is something pretty special. The bag is stylish and compact. It has a pocket inside the bag to hold the bar (which also has it’s own bag) so when you’re traveling the bar is nicely tucked away inside the bag and the only thing outside the bag is the pump, which attaches on the lid of the bag. The zip has protection so you don’t catch the kite when zipping the bag up and in a nice touch you get a spare inflate nozzle attached to the bag. (more on that later). It also has netting on the underside of the bag to let excess sand drain out once you’ve packed away. Inside the front pouch of the bag is a repair kit, nicely packaged in a canvas wallet containing everything you need for emergency repairs at the beach, and of course the regulation stickers! In short we were impressed from the outset.
Some very well thought out features here. The first thing we noticed when rolling it out was the choice of attachment points for the lines so you have the choice of positioning the lines on wide or narrow setting meaning no more needing to buy 2 bars. If want to fly with a smaller kite, just re attach the lines at the narrow setting (done easily using a larks head) and the bar changes from a 55cm bar to a 45cm bar and you’re off.
The lines come with 3 metre extensions (taking them from 23m down to 20m) but unusually these are at the bar end of the lines. This is actually brilliant. The extension attachments are simply spliced line so they are nice and discreet and by having them at the bar end of the line it avoids them getting tangled anywhere near as much as they would if they were at the top of the lines (where the lines naturally tangle more easily), a very nice touch.
The centre lines have a swivel to keep them from getting twisted, unlike many of these systems this one actually works. The de-power is above the bar and is very easy to pull on and lock off even when over powered. One slight caveat is that once pulled the loose de-power line tends to flap around and get twisted round your lines, while there is a velcro attachment, it very quickly stops working effectively and it would be nice if there someway of locking this down neatly. (this apparently has been fixed in later models of the bar…see the comments below)
Again in another nice touch the donkeys dick is curled to avoid it accidentally releasing if you catch it on you harness while pulling the bar in too close.
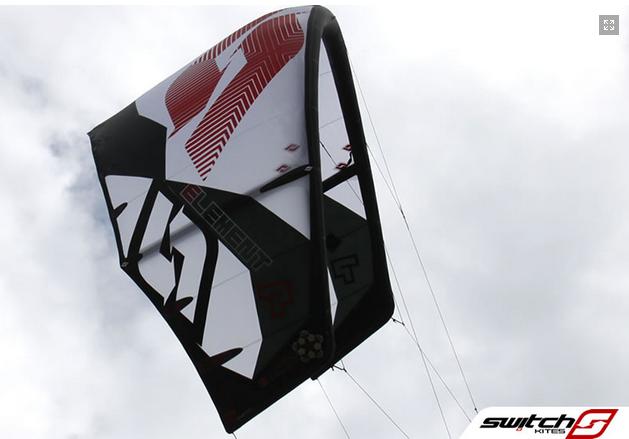
The kite is a 3 strut affair with a one pump system. The first thing you notice it when inflating it is the inflate valve. Looking something of a cross between the Cabrinha system and the Liquid Force system it’s a one way valve that requires a specialist nozzle but massively reduces inflate/deflate times. You get one of these nozzles attached to the pump and in case you lose it or forget your pump that day there’s a spare one attached inside the front pocket of the bag. The whole system works very well and we love the “screw me or lose me” reminder on the kite, ensuring you close the valve every time you pack the kite away…whilst obviously smiling and thinking of the second most fun thing to do in the world!
The kite itself has all the features that you would expect from a modern kite but that non of us really understand. Kevlar reinforcement, those funny handles on the wind tips to self rescue with, and all the technical bits with overly complicated names that i’m not going to get into here. Most importantly it looks solid, stylish and well made.
The ultimate question of course is how does it fly?
Quite frankly brilliantly. We have an 11m Element and I have to say it feels more like a 9m it’s that fast. Super stable with easy relaunch, it does everything you’d want in an all round kite with a nice balance of low and top end, decent boosting and an easy, fluid feel.
Now we’ve only had ours about a month so have yet to really test it’s construction but at long as that holds I do think we could be starting a long love affair with Switch kites.
[youtube height=”315″ width=”560″]http://www.youtube.com/watch?v=vKBie6SJuM0[/youtube]
Now I hate these reviews in kite mags that simply blow sunshine up kite manufacturers asses because they rely on them for advertising and I always promised myself it was something we would stay well away from and so I have to put something detrimental about these kites, my conscience simply won’t allow me to be so sugary.
If I had to pick one thing it would be the customer service at Switch often leaves something to be desired…these guys do not respond to email well. We’ve sent them quite a few emails over the past few weeks and either had to wait a long time for a reply or more commonly simply received no reply at all. The best way to get in touch seems to be through the live chat on their web site which in fairness is manned fairly consistently
All in all though this kite is quite frankly awesome, it looks and handles like a kite that you’d expect to pay around 1400€ for and the 11m kite and bar cost us 822 € delivered to our door, I just really don’t think you can argue with that.
This article was taken from Tantrum Kitesurf Magazine…start your FREE trial today!
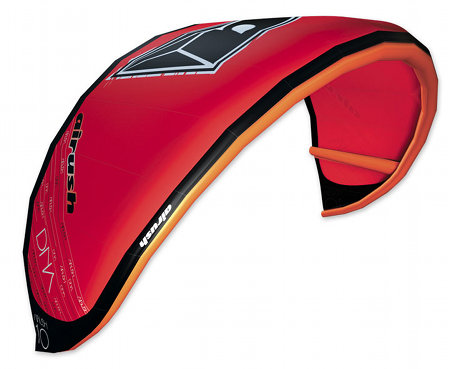

The Airush DNA comes in 4, 6, 8, 10 and 12m sizes. Designed primarily as a school/beginner kite it has a delta-hybrid design with a full flag-out safety system. It is based on the Airush Lithium kite but is built to be stronger and easier to handle for the beginner. We first got our hands on one of these about a month ago and have been using them ourselves and in the school for teaching ever since.
When you unroll the kite the first thing you will notice is that it is simple. The bag is functional (and not much more) the kite has no 1 pump system, the graphics are again functional but uninspiring. First impressions of this kite are not great. That said however the kite looks well put together and it was due to the legends of its tough design that we were attracted to them in the first place. Its still too early in the season to say how they will stand up but if the reports from last years model hold true we hope to be impressed.
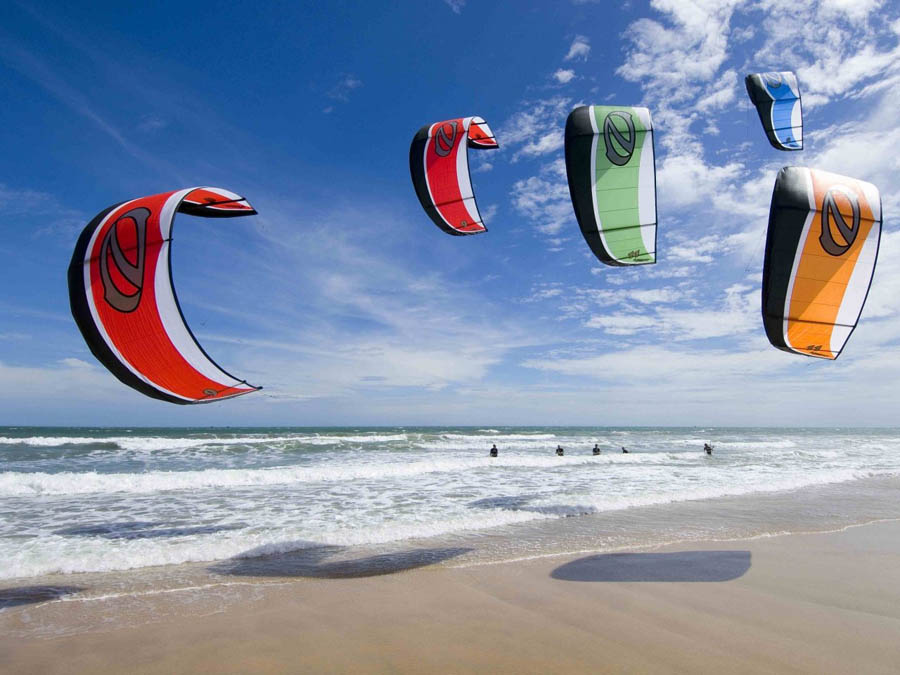
Put the kite in the air and everything changes. The kite performs amazingly in all conditions, and I mean all! We’ve had this kite out in horrendously gusty conditions here in Tarifa where the wind is blowing from 5 kts up to 30 kts and it it still possible to teach. More impressively in really light winds where there are huge holes in the wind the kite will cope with the lulls much better than anything I have ever seen before staying in flight for an age with next to no wind before it starts to drop. Compared to the kites we’ve taught on in the past and by looking at the other kites on the beach I can honestly say it seems to perform the best across the widest range of conditions.
We (and the other schools teaching on DNA’s) are regularly the schools with the first kite up as the wind builds and last kite down when it dies. The kite seems almost impossible to back or front stall, simply powering up as you pull the bar in or dropping back in the window if it overshoots the window. The kite keeps its power and distance in the turns and even when you’re really flinging it around will keep tension in the lines. It relaunches effortlessly even in light winds. All this combines to give us more teaching time and a better advancement rate with our clients than we’ve ever had in the past.
More than simply a school kite however I have to say I really love riding this kite, sure it’s not the most dynamic kite in the world but it just makes kiting hassle free. Mess up a jump and land with the kite upwind, the kite simply moves back into position over your head. Struggling in light winds? Just pull the bar in and instead of that awful back stall sensation the kite simply shifts back slightly in the window and then continues to power up. The kite seems to relaunch using the force and is almost effortless…time after time. Again this isn’t a kite that will have the pro’s raving but as a functional, easy to use, 1st time kite I do not believe this kite can be beaten by anything I’ve ever ridden or taught on.
There are of course some down sides. The kites not the most beautiful and you’re mates certainly wont be jealous the first time you pull it out of its bag! The graphics are simple and the colours are not the most eye catching. It is not blisteringly fast and if your after a radical ride this probably isn’t the kite for you. I can’t imagine Ruben Lenton wanting to fly a kite like this for very long as it simply doesn’t feel like it’s built for performance.
In short the DNA’s simplicity is it’s greatest strength. It is possibly the best beginner/school kite on the market but is also great for intermediates who simply want hassle free kiting. With its amazingly stable flight and relaunch characteristics it’ll keep you kiting in conditions that before you wouldn’t have thought possible or wanted to brave. That said if you’re looking for a radical kite to perfect your f-16’s on, this maybe isn’t the kite for you.
Although a superb kite to teach on we won’t be buying the DNA’s next year for our school as we simply found them too fragile for the kind of rough treatment they get whilst being used in our kite school. I still love the kites to fly, but they seem to have just too many weak points, many caused by over reinforcement of certain areas, ie. the ‘pads along the trailing edge. This leads to the material around the reinforcement being put under too much pressure and consequently breaking under the strain.
Tried the Airush DNA and want to let us know what you think? Let us know in the comments below…
How do you make sure your expensive new kitesurfing kite doesn’t fall apart after 5 sessions? By following these few simple guidelines you can increase the lifetime of your kite and get so much more value for your money.
Ironically enough the 3 main things you need to avoid with your kite are sun, wind and sand!
Now I know that avoiding the last 2 of those is pretty much impossible, unless you live in the UK in which case avoiding the sun is very easy!
UV from the sun will damage the kite as it damages most materials. If you live in a warm climate this is however pretty much unavoidable. In a cruel twist of irony the wind will also damage the kite. This is especially true when the kite is left sat on the beach flapping in the wind.
Ever seen a flag that’s been flying too long, all frayed at the end?
That’s exactly what the winds doing to your kite. The best way to avoid both the wind and the sun is to put the kite back in the bag if you intend to leave it on the beach for any length of time.
The biggest kite killer however is sand. Sand will work its way into and rub against the material and the stitching of your kite, weakening both and in time leading to tears and breakages. The best way to avoid this is to clean your kite thoroughly as you put it away, brushing all the sand off the kite as you pack it down.

If the kite is wet or damp when you put it away it’s not always possible to get all (or indeed any!) of the sand off, in this case the kite should be cleaned at the first opportunity.
Another real kite killer is the heat. When kites are left in a car or in a warm place in the sun the glue that holds the valves onto the bladders will often melt.
Leaving you with small holes where the valve has come unattached from the bladder and through which air can escape. Meaning that the next time you come to inflate your kite you find it mysteriously has a very slow puncture which is very difficult to locate. Avoid this by storing the kite in a cool dry place.
There is a lot of debate about as to whether you should clean your kite in freshwater once you’ve finished a session on the sea. Some people believe you should thoroughly wash your kite down in fresh water as this removes the salt which can have a similar effect to sand.
Others suggest that the salt actually preserves the kite and stops it from rotting and gathering mould especially if you are planning to leave the kite in storage for a long time, ie. over the winter. I personally don’t rinse my kites down after use and while I use this excuse if I’m honest with myself it’s probably just laziness!!
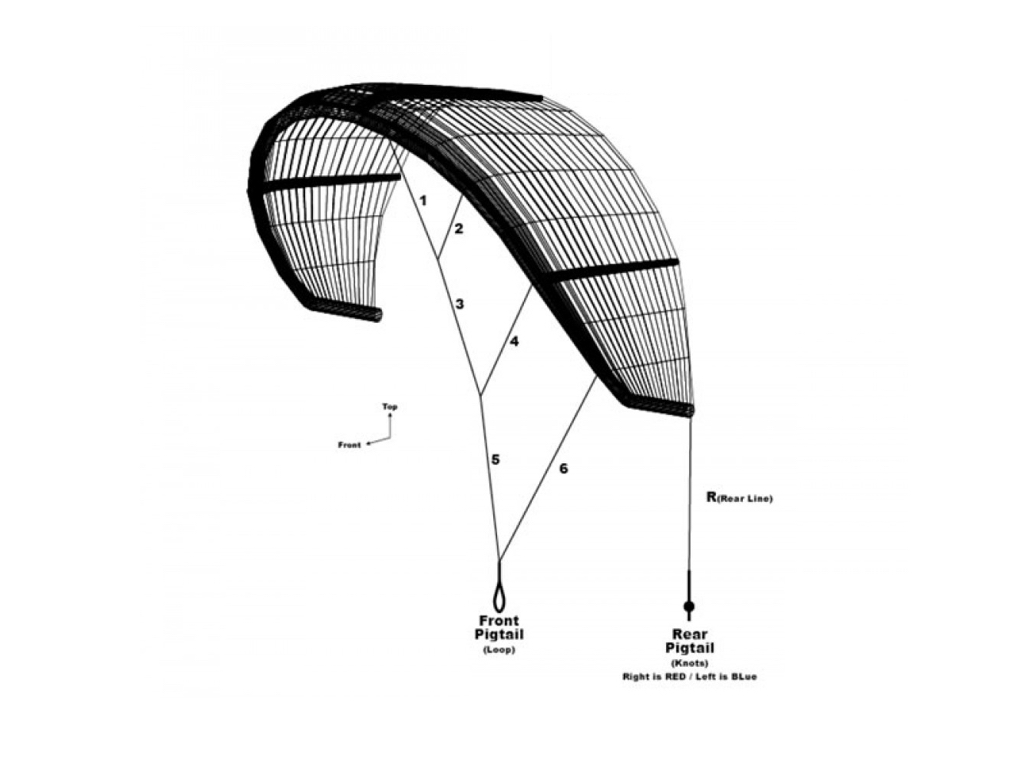

One of the most overlooked — yet extremely important — parts of a kite is the bridle system. The bridle is composed of the lines supporting the kite’s shape as well as the pulleys that slide along these lines to change the angle of attack. On most systems, when a bridle line breaks during flight, it can completely disable the safety system, resulting in a total loss of control. Because of this risk, you should routinely check the bridle for wear and tear before each session.
The most common forms of bridle wear:
— Jammed, rusted or worn pulleys caused by sand and/or normal use
— Broken or popped stitches on the loops at the ends of each line
— Frayed lines caused by the lines rubbing against one another or by contact with rocks, shells or old pulleys
Locations and components that should be inspected regularly:
— Check pulleys for proper use and smooth rolling.
— Check sheaths — the braided coating on all lines that protect the internal Spectra lines — for wear.
— Check connection points along the kite’s leading edge, which often touches the ground when not flying.
— Check main flying-line connections that get connected and disconnected with every use.
Replacing and fixing bridle components:
— Most repair centers can build replacement lines for any kitesurfing kite, so don’t buy a completely new bridle.
— The easiest way to replace a line is to remove and measure the corresponding line on the opposite side of the kite. It’s best to replace both the broken line and the good line to assure they are even in length and strength.
— Lay the line out and measure from one end to the other end, including the loops at the ends.
— Never tie a broken line back together with a knot! This shortens the bridle and can create a dangerous imbalance in the system.
Repair costs (estimates based on local Tarifa prices):
— A replacement sewn bridle line ranges from 10 € to 20 € per line.
— Replacement pulleys are 4 € to 7 € each.
— Pigtails are (roughly) 5 € each, or you can get a complete eight-piece set for 25 €.
If you’re looking to prolong the life of your kite and bridle, remember to inspect and replace worn lines immediately, while replacing pulleys at least once a year. Regular maintenance combined with a little cleaning will not only ensure your entire system lasts much longer, but it will also provide you with a better return when it comes time to upgrade or change kites.